Products in this article
As an Amazon Associate I earn from qualifying purchases.
Quick Summary
- Create a stylish floating shelf to enhance your bedroom’s aesthetic.
- This project is suitable for beginners and uses common household tools.
- Add practical storage and a personal touch to your living space.
- Learn to prepare wood, install brackets, and apply a finish.
Adding a floating shelf is an excellent way to introduce both functionality and style to your bedroom. This DIY project allows you to create custom storage or display space, significantly enhancing your bedroom decoration with a personal touch.
You will learn how to prepare your materials, securely mount the shelf, and apply a finish, resulting in a beautiful and practical addition to your room.
Tools and materials
- Wood board (pre-cut or to be cut)
- Floating shelf brackets
- Screws and wall anchors (if not mounting into studs)
- Pencil
- Measuring tape
- Level
- Stud finder (optional)
- Wood glue (optional, for extra stability)
- Sandpaper (various grits, or use P1)
- Wood stain, paint, or clear sealant
- Paintbrush or cloth for finishing
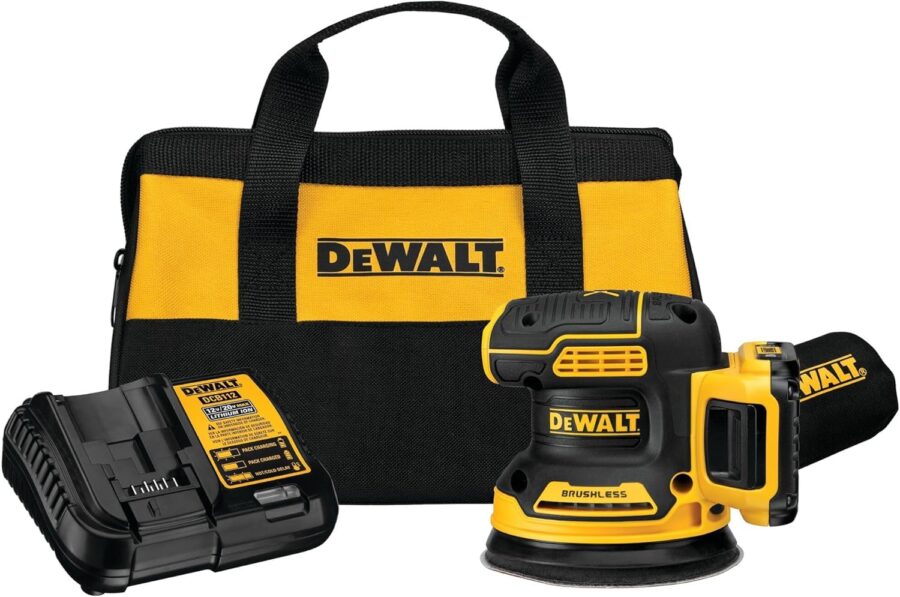
- DEWALT 20V MAX Orbital Sander (P1)
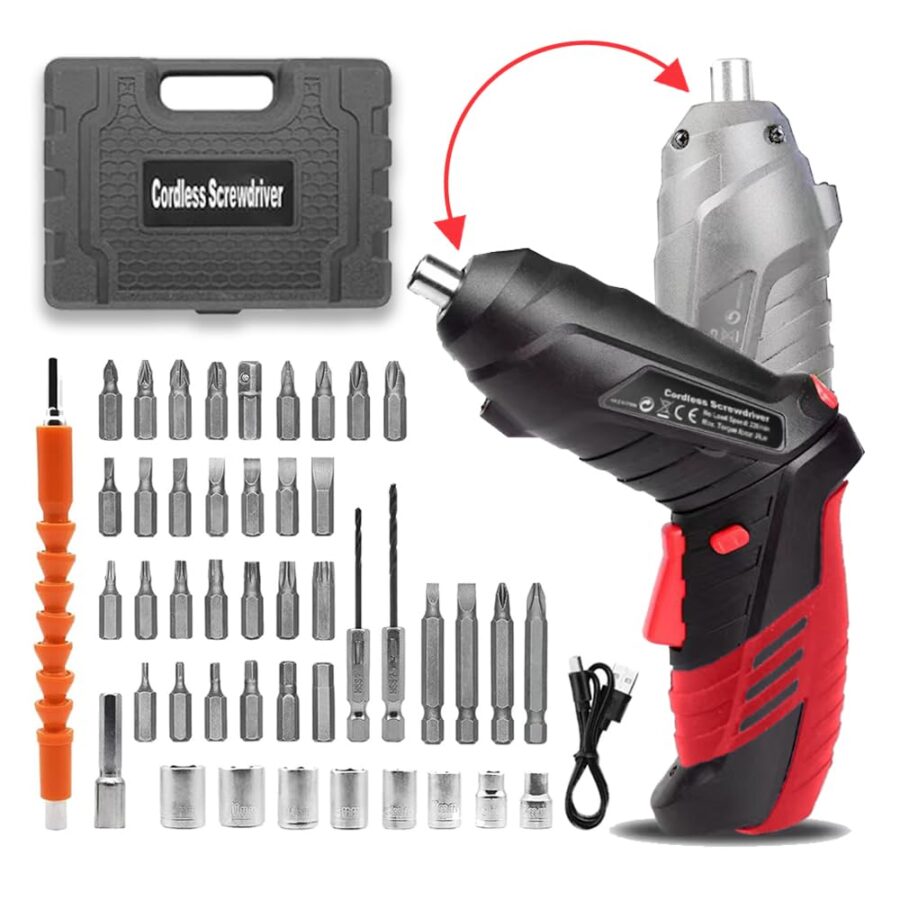
- AFNZTME Cordless Electric Screwdriver (P2)
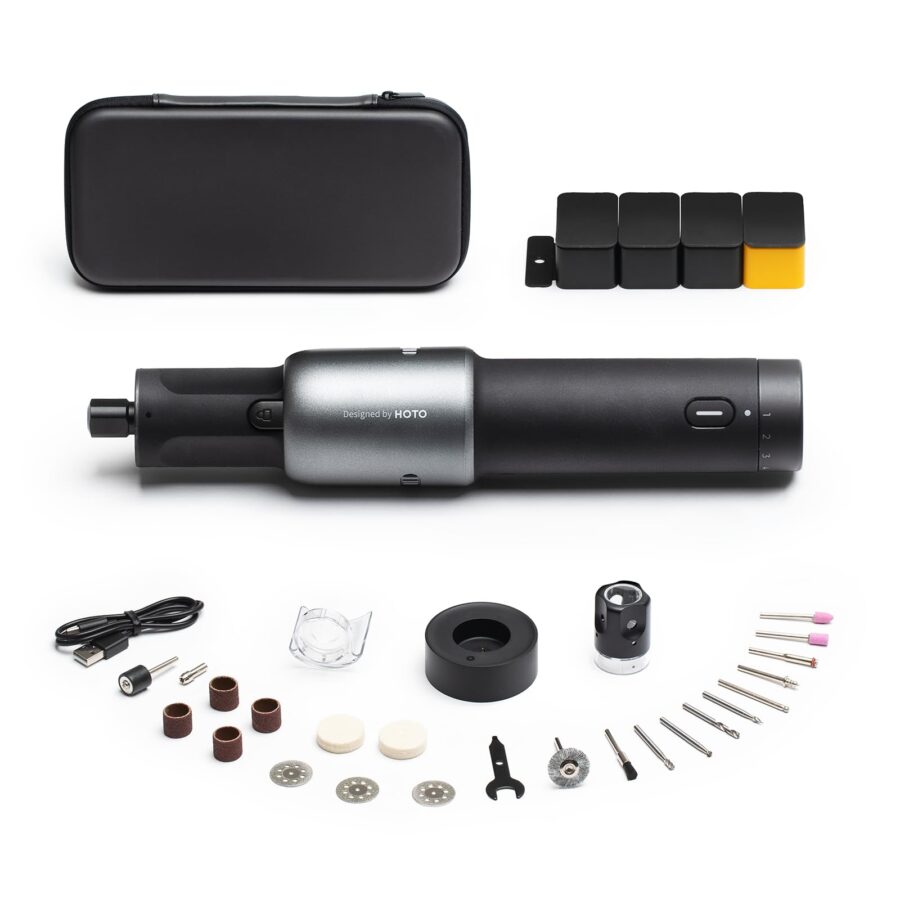
- HOTO Cordless Rotary Tool Kit (P4)
1. Prepare Your Wood Board
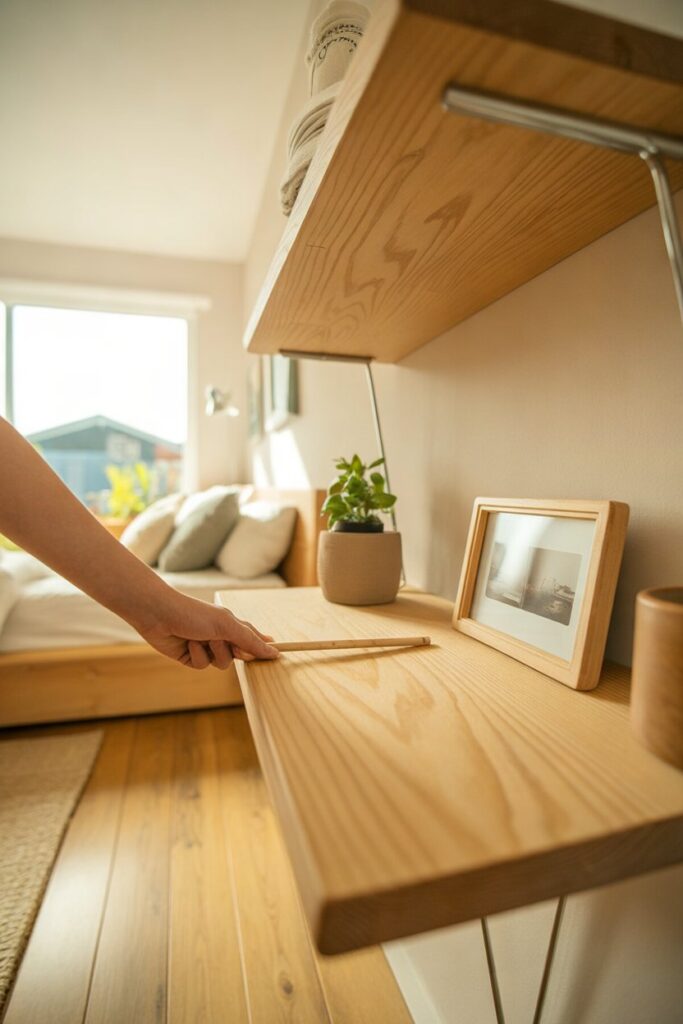
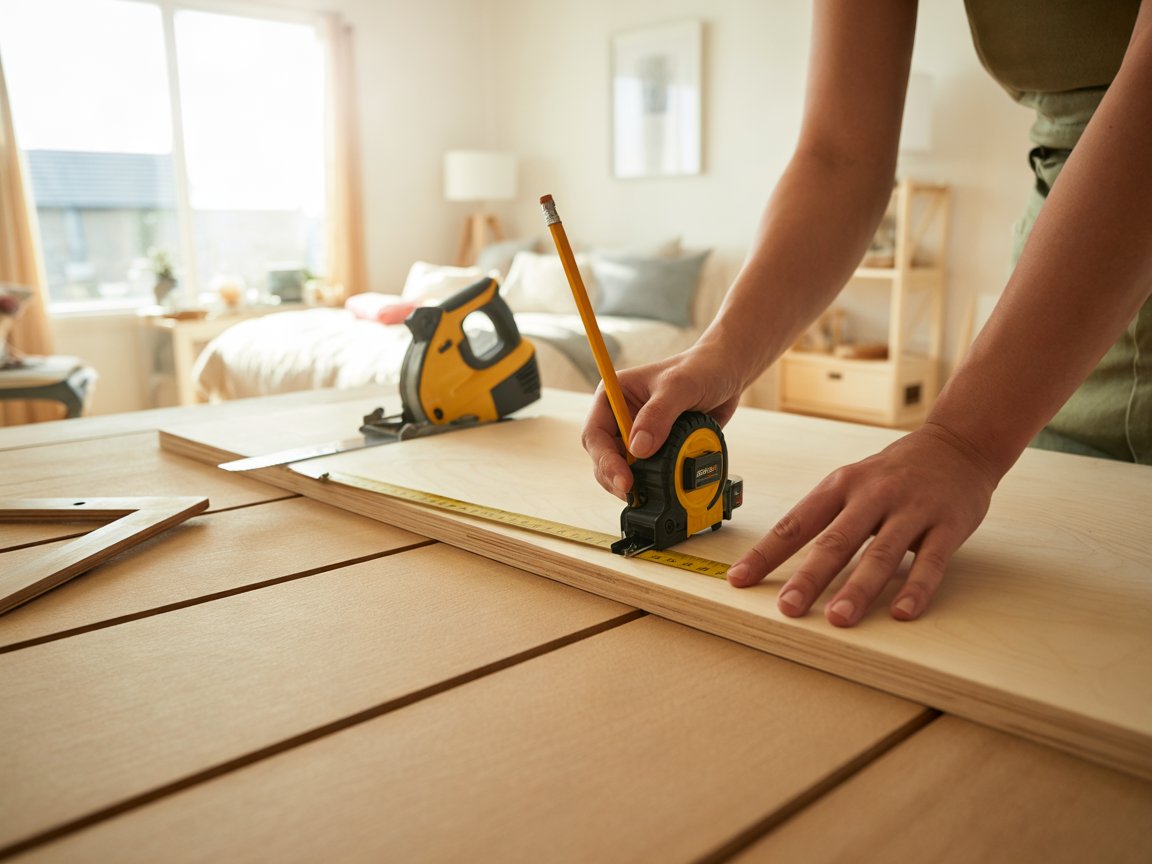
Begin by measuring your chosen wood board to the desired length for your floating shelf. Use a pencil to mark your cut line clearly. If you are not purchasing pre-cut wood, carefully cut the board to size. Ensure the cut edges are straight and smooth.
2. Smooth and Refine the Wood
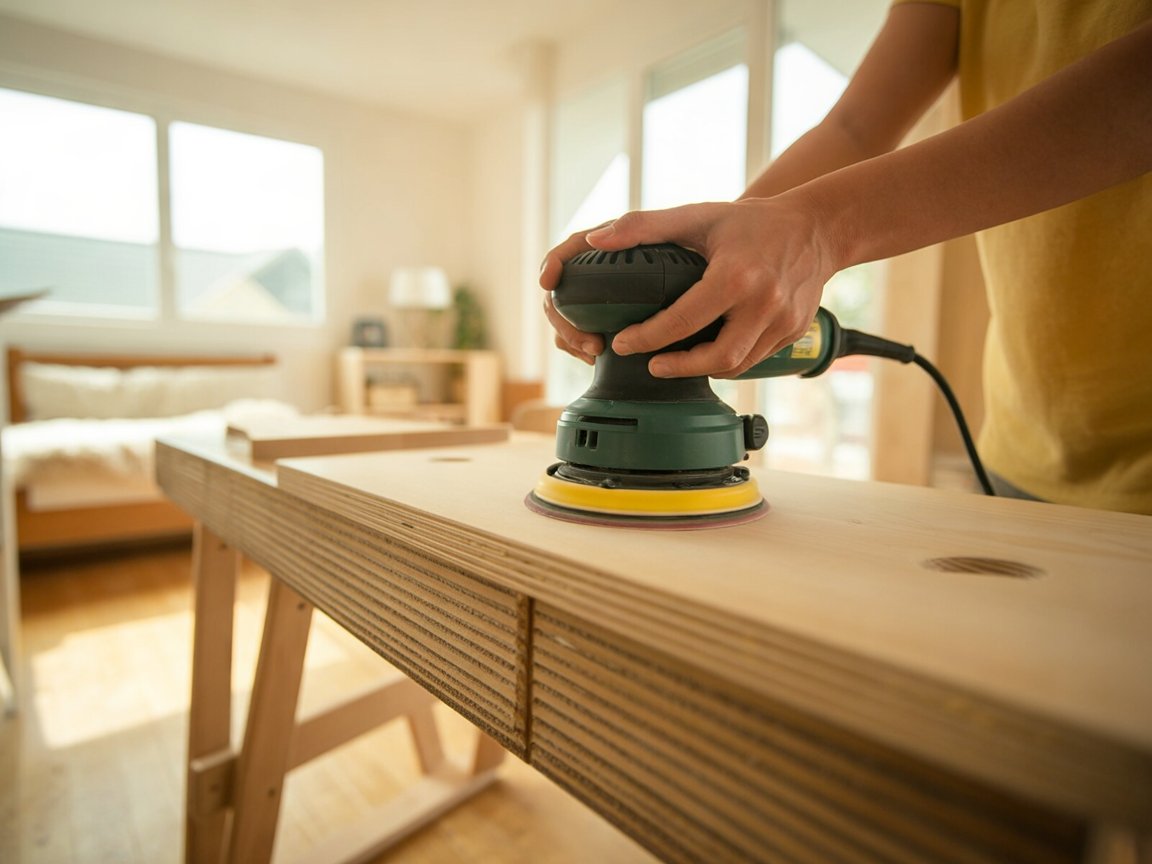
Once your wood is cut, it’s time to smooth all surfaces and edges. Use an orbital sander, such as the DEWALT 20V MAX Orbital Sander (P1), to achieve a uniform, smooth finish. For fine details or shaping edges, a cordless rotary tool like the HOTO Cordless Rotary Tool Kit (P4) can be used to refine the contours.
3. Install Floating Shelf Brackets
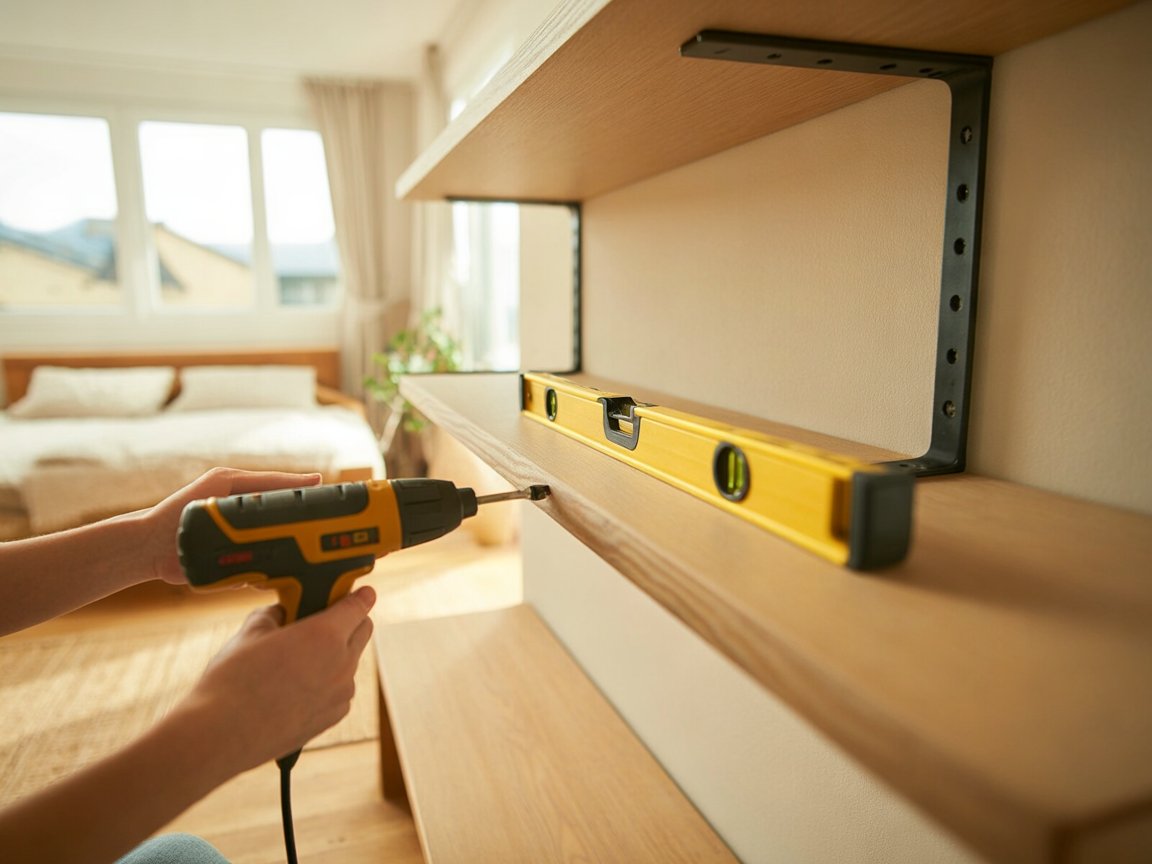
Identify the desired location for your shelf on the wall. Use a stud finder to locate wall studs for secure mounting, if possible. Mark the positions for your floating shelf brackets, ensuring they are level. Use an electric screwdriver, like the AFNZTME Cordless Electric Screwdriver (P2), to securely fasten the brackets to the wall, driving screws firmly into the studs or appropriate wall anchors.
4. Mount the Shelf onto Brackets
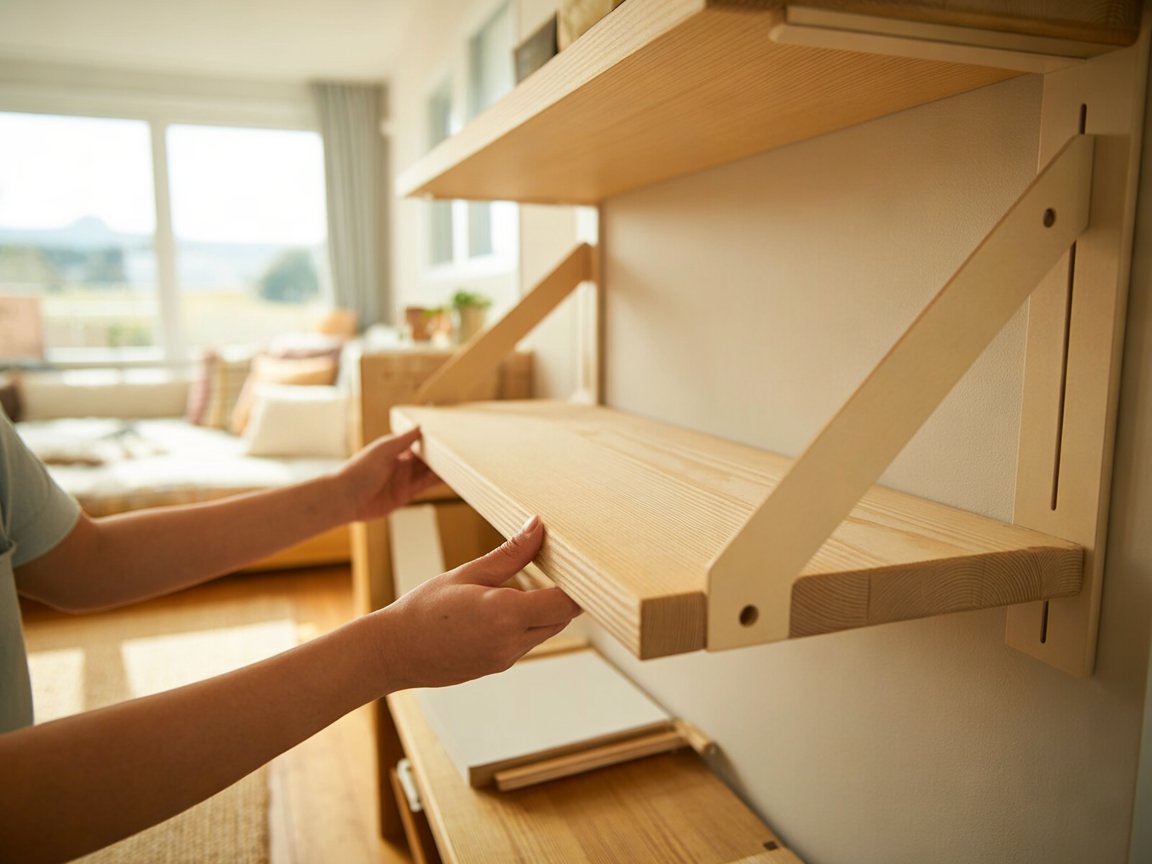
With the brackets securely installed, carefully slide your prepared wooden board onto the protruding rods of the floating shelf brackets. Ensure the shelf fits snugly and is flush against the wall. Depending on your bracket design, you may need to secure the shelf to the brackets from underneath with small screws, again using your electric screwdriver.
5. Apply Your Chosen Finish
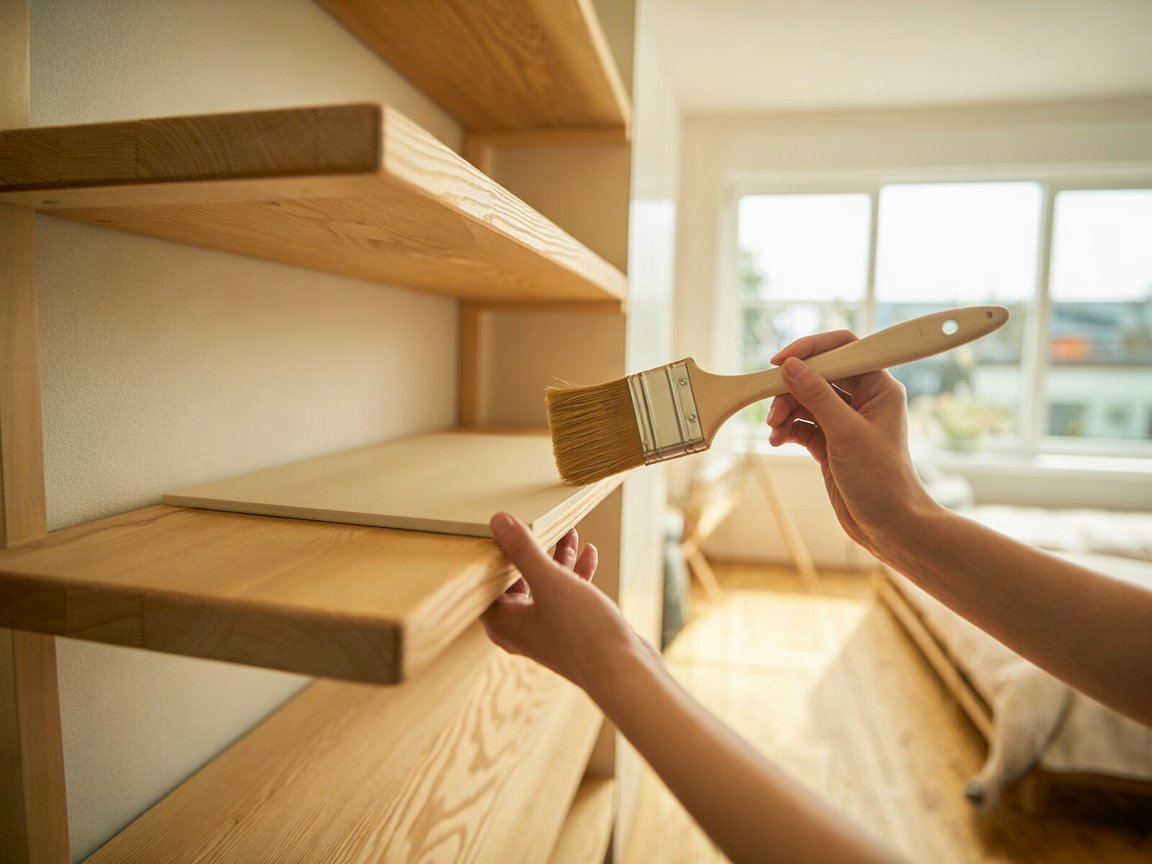
The final step is to apply your desired finish to the shelf. This could be wood stain to enhance the natural grain, paint to match your room’s decor, or a clear protective sealant. Apply the finish evenly according to the product instructions, allowing adequate drying time between coats for a durable and attractive result.
Building Your Floating Shelf for Bedroom Decoration
A floating shelf offers a clean, modern look and can be customized to fit any space or style. This project is designed for beginners, guiding you through each step to create a functional and beautiful piece of bedroom decoration.
Tools and Materials Overview
For this project, you’ll need a selection of basic tools and materials. A cordless orbital sander, such as the DEWALT 20V MAX Orbital Sander (P1), is highly recommended for achieving a smooth finish on your wood. For fastening, a cordless electric screwdriver like the AFNZTME Cordless Electric Screwdriver (P2) will make quick work of installing brackets. For any fine detailing or edge work, a compact rotary tool like the HOTO Cordless Rotary Tool Kit (P4) can be very useful.
Safety First
Always prioritize safety when undertaking any DIY project. Wear appropriate personal protective equipment, such as safety glasses, to protect your eyes from dust and debris, especially when cutting or sanding wood. If using power tools, ensure you understand their operation and follow manufacturer instructions. Keep your workspace clean and well-lit to prevent accidents. When working with wood finishes, ensure good ventilation to avoid inhaling fumes.
By following these steps, you can successfully create a custom floating shelf that not only adds practical storage but also significantly enhances your bedroom’s aesthetic. Enjoy your new piece of personalized bedroom decoration!
Images are AI-generated and illustrate the steps.
Specifications
| Brand | DEWALT |
|---|---|
| Product Dimensions | 10.25"L x 9"W x 5.5"H |
| Grit Type | Medium |
| Voltage | 20 volts |
| Power Source | Battery Powered |
Who Is It For?
- DIY beginners looking for simple home projects
- Individuals seeking to add custom storage or display space
- Craft enthusiasts who enjoy woodworking and finishing
- Homeowners wanting to enhance bedroom decoration on a budget
- Users needing light-duty, versatile power tools for household tasks
Who Should Look Elsewhere?
- Professional contractors requiring heavy-duty tools
- Individuals performing high-torque or industrial applications
- Those needing tools for automotive or plumbing work
- Users expecting extreme battery life from cordless tools
Our Verdict
For smooth wood preparation, the DEWALT 20V MAX Orbital Sander (P1) is a powerful and convenient cordless option, though users should note mixed feedback on battery life and dust collection. The AFNZTME Cordless Electric Screwdriver (P2) is an excellent choice for light fastening tasks, offering versatility and ease of use for DIYers, despite some finding it underpowered for heavier jobs. For fine detailing and finishing touches, the HOTO Cordless Rotary Tool Kit (P4) provides impressive power and a stylish design, making it suitable for hobbyists and craft lovers, though build quality feedback is mixed.
Explore the full specifications and current details for these tools on the retailer’s page.
Frequently Asked Questions
What kind of wood is best for a floating shelf?
Common choices include pine, oak, or maple. The best wood depends on your desired look and budget. Ensure it’s sturdy enough to hold your intended items.
How do I ensure my floating shelf is level?
Always use a level when marking bracket positions and during installation. Double-check the level before fully tightening screws to ensure a perfectly straight shelf.
Can I use these tools for other DIY projects?
Yes, the DEWALT orbital sander is versatile for many sanding tasks. The AFNZTME electric screwdriver is useful for general household assembly, and the HOTO rotary tool is great for various crafts, detailing, and light repairs.
How long does it take to build a floating shelf?
The duration depends on your experience and the complexity of the shelf. A simple project like this can often be completed in a few hours, not including drying time for finishes.
What if I don’t have wall studs to mount into?
If wall studs are not available, use appropriate heavy-duty wall anchors designed for your wall type (e.g., drywall anchors, toggle bolts). Always ensure the anchors are rated for the weight of your shelf and its contents.
Related Articles
Where to buy
You can check out and buy the products mentioned in this article below.